DIY Lampshade Kit How to Build Your Own Shade at Home
There’s something deeply satisfying about making something with your own hands, especially when it actually turns out usable. That’s exactly why a DIY lampshade kit has become a quiet favourite for people who want custom décor without custom prices.
If you’ve ever looked at your lamp and thought, “The base is fine, but this shade isn’t,” this is your sign. Let’s walk through how to build your own lampshade at home, what you’ll need, and how to avoid the common mistakes that make people give up halfway through.
What Is a DIY Lampshade Kit?
A DIY lampshade kit is basically a ready-to-assemble set that gives you the structure of a lampshade without the fabric. You choose the fabric, style, and finish. The kit usually includes:
- Lampshade adhesive or tape
- Metal rings (top and bottom)
- A pre-cut panel or template
- Simple instructions
Some kits are designed specifically for a drum lamp shade, while others work for tapered or rectangular shapes. Drum styles are the most beginner-friendly, which is why they’re so popular for first-time DIY projects.
Why Make Your Own Lampshade?
Sometimes replacement lamp shades feel overpriced for what they are. And even when you’re willing to pay, the size or colour is never quite right. A DIY lampshade kit solves that problem. You get:
- A perfect fit for your lamp base
- Full control over fabric and colour
- A custom look without custom cost
- A creative project that doesn’t require special skills
It’s also a great way to reuse lamps you already own instead of buying new ones just because the shade looks old.
How to Build Your Own Shade at Home
Here is a step-by-step guide for building a lamp shade on your own:
Step 1: Pick the Right Lampshade Shape
Before you touch the kit, decide on the shape you want. If this is your first attempt, go with a drum shade. It’s symmetrical, forgiving, and works well in most rooms. Drum shades also look great on table lamps, floor lamps, and even pendant fittings.
Measure your lamp base before choosing the kit size. The general rule still applies: the shade width should be about twice the width of the base, and the height should be roughly two-thirds of the base height. Getting the size right makes everything else easier.
Step 2: Choose Your Fabric Wisely
This step makes or breaks the final look. Lightweight cotton, linen, or canvas works best for beginners. These fabrics stick easily and don’t wrinkle too much. Avoid anything too thick, stretchy, or shiny for your first project.
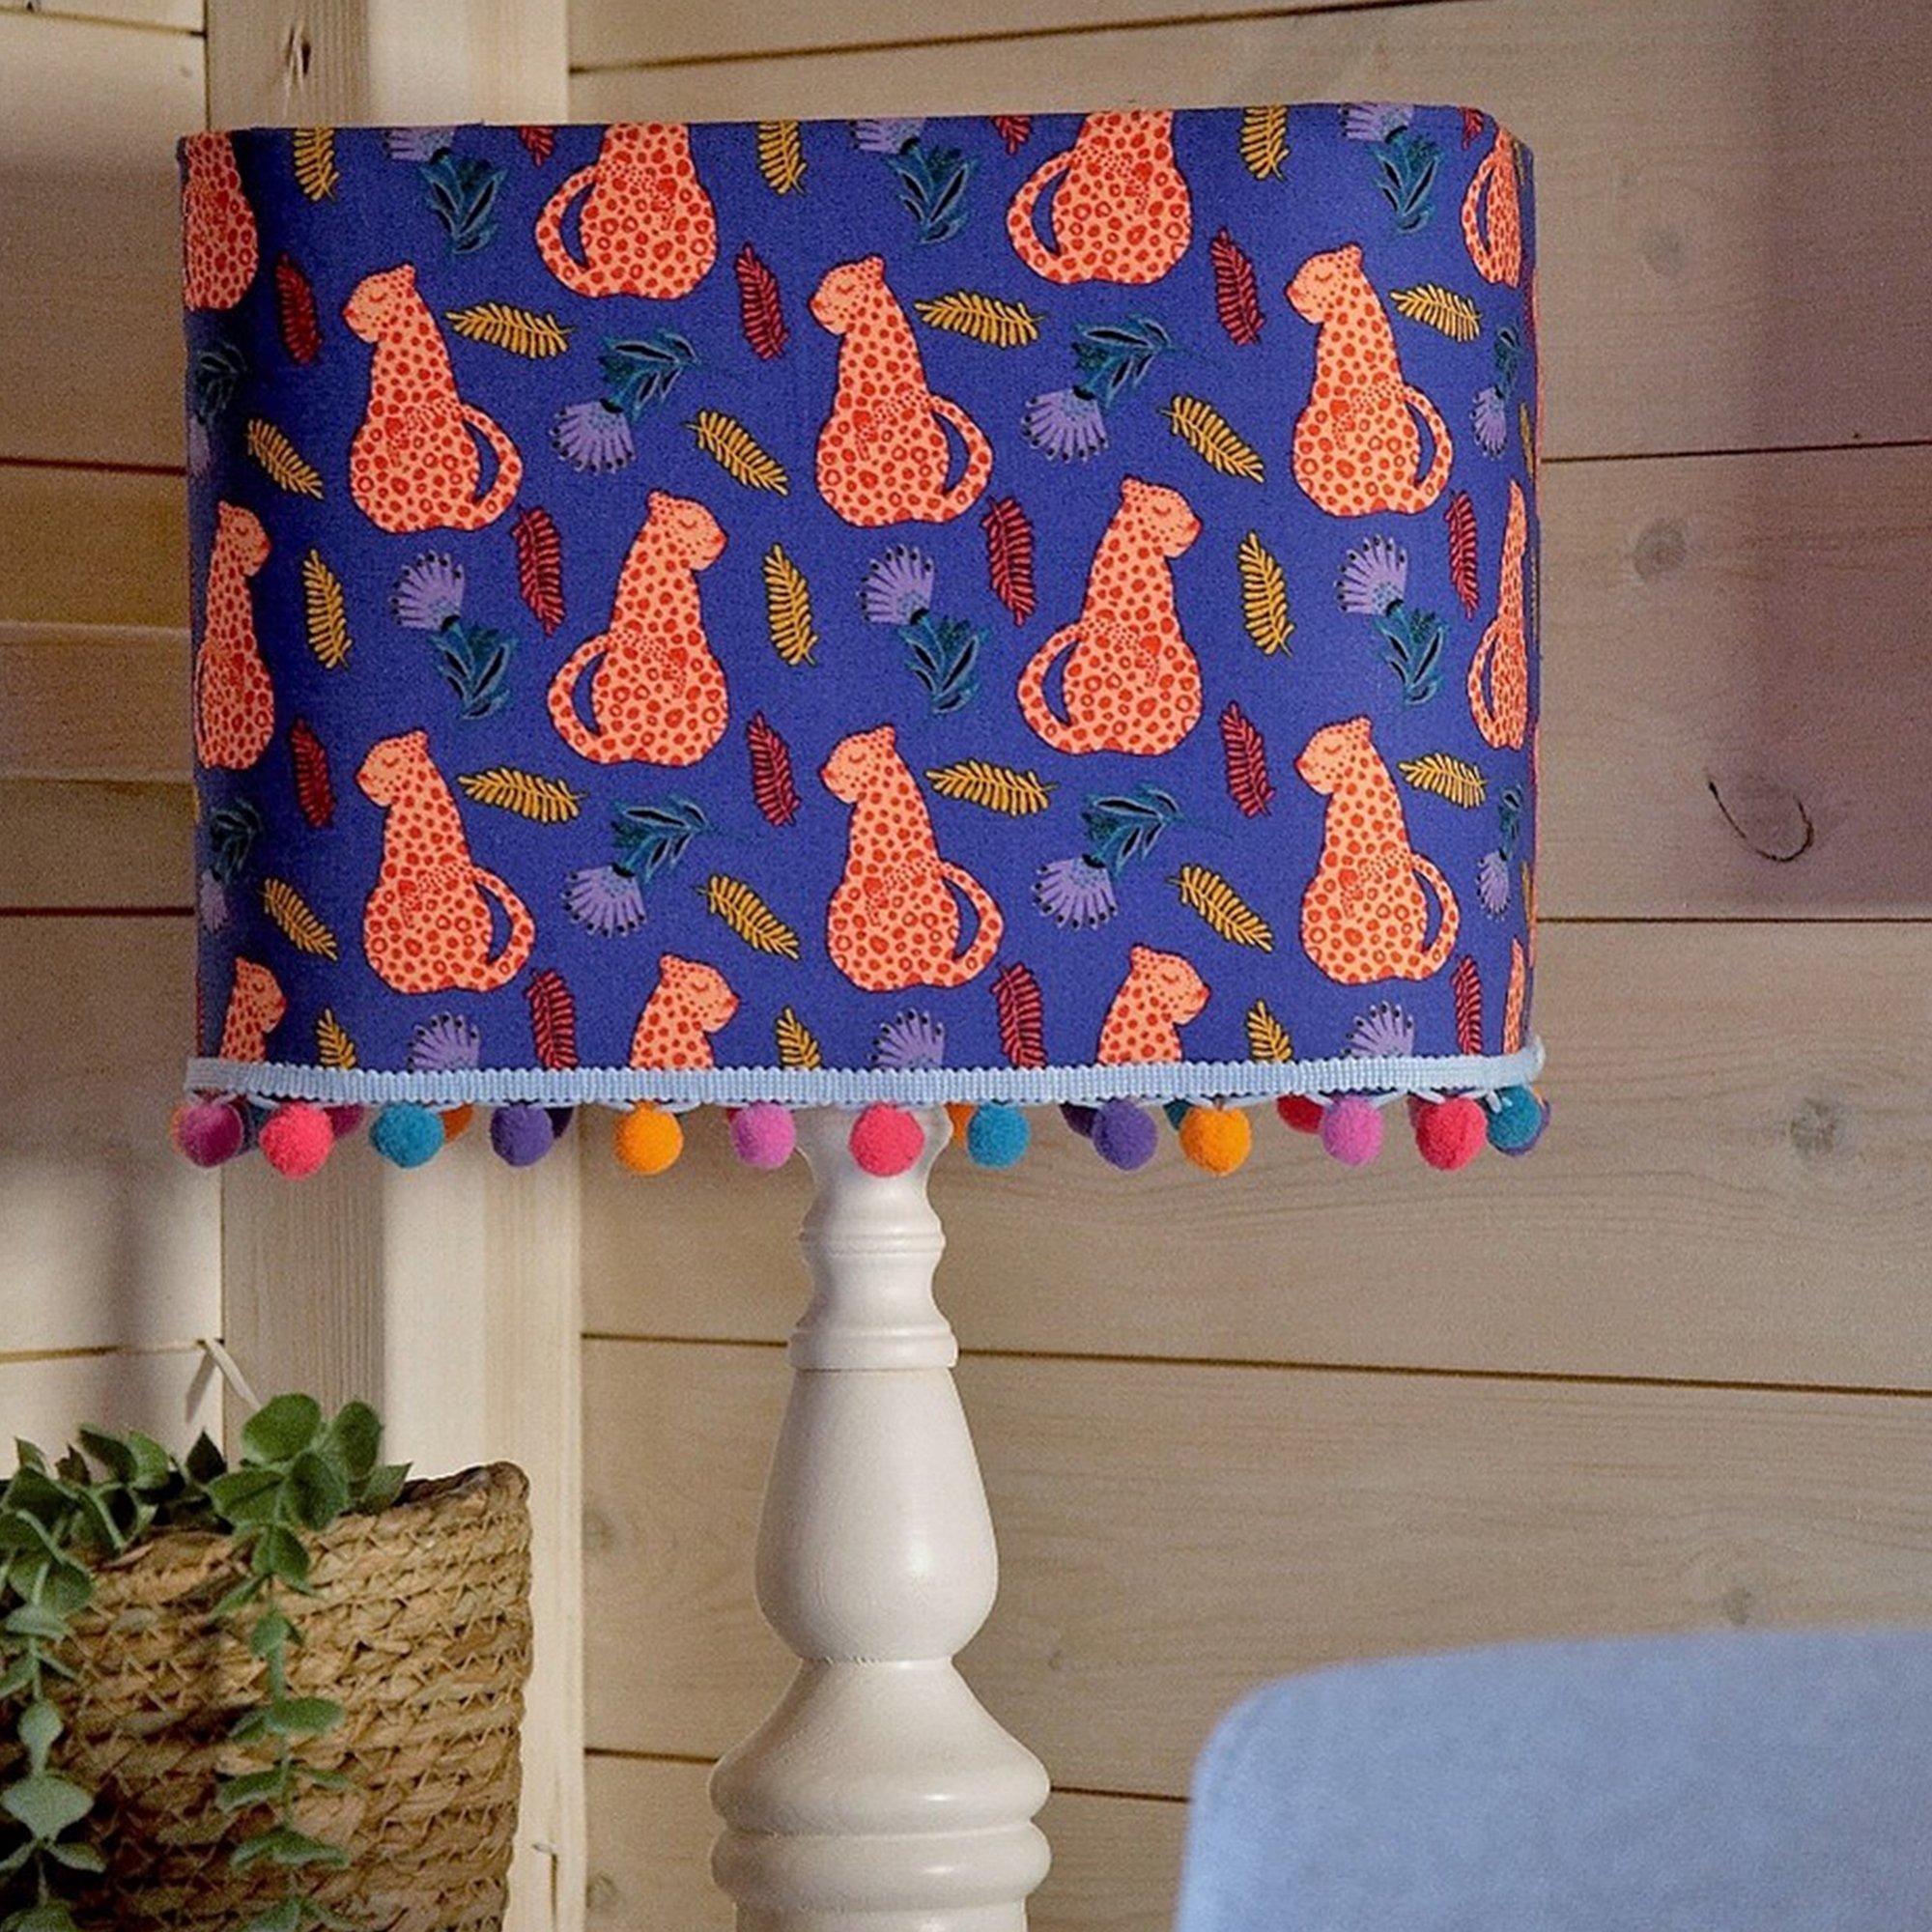
Hold the fabric up to a light before committing. It gives you a preview of how the lamp will glow when it’s turned on. Busy patterns look great during the day but can feel overwhelming once lit. Neutral fabrics are timeless. Bold patterns work best when the lamp is meant to stand out.
Step 3: Assemble the Frame
Most DIY lampshade kits come with clear instructions, and the frame usually clicks or tapes into shape quickly. Lay everything flat on a clean surface. Attach the metal rings as directed, making sure the structure is straight.
It is the stage where alignment matters most. A crooked frame leads to a crooked shade, and there’s no hiding that once it’s finished. Take your time here. Rushing is the only way this step goes wrong.
Step 4: Attach the Fabric
This is where it starts to feel real. Apply adhesive or tape evenly along the frame and slowly wrap the fabric around it. Smooth as you go. Don’t pull too tight, but don’t leave it loose either. Think steady, not rushed.
Overlap the edges neatly and press them firmly into place. Most kits recommend letting the shade dry for a few hours before handling it further. Follow that advice. It’s tempting to peek early. Resist.
Step 5: Finish and Install
Once the shade is fully dry, trim any excess fabric and check the edges. If you want to get fancy, you can add trim, ribbon, or piping, but this is optional. Place the shade on your lamp, switch it on, and take a moment to enjoy the result. You didn’t just buy décor. You made it.
When a DIY Kit Is Better Than Buying Replacement Lamp Shades
If your lamp base is an odd size or your room has a very specific colour palette, a DIY lampshade kit gives you flexibility that standard replacement lamp shades don’t. It’s also ideal if you:
- enjoy small creative projects
- You’re redecorating on a budget
- want matching shades for multiple lamps
- want something unique without custom pricing
FAQs
1. Is a DIY lampshade kit beginner-friendly?
Yes. Most kits are designed for beginners and don’t require special tools or prior experience.
2. What fabric works best for a drum shade?
Cotton, linen, or light canvas works best. They’re easy to handle and allow soft light through.
3. Can I use a DIY lampshade kit for replacement shades?
Yes. DIY kits are a great solution when standard replacement lamp shades don’t fit properly.
4. How long does it take to make a lampshade?
Most projects take one to two hours, plus drying time.
5. Will a DIY lampshade look professional?
If you measure carefully and take your time, the result can look just as polished as store-bought.
Disclaimer
This article is intended for informational and educational purposes only. DIY lampshade projects involve handling tools, adhesives, and materials that may cause injury if used improperly. Readers should exercise caution, follow the instructions provided with their kits, and use protective equipment as needed. The author and publisher are not responsible for any accidents, injuries, or damages that may occur during the DIY process. Individual results may vary depending on skill level, materials used, and adherence to safety guidelines.